-
ImageMagick
is
a
collection
of
(free)
image
manipulation
tools.
You
can
find
out
more
by
visiting
-
The
LATEX Graphics
Companion.
- Paperback: 608 pages
- Publisher: Addison-Wesley Pub Co; 1st edition (April 15, 1997)
- ISBN: 0201854694
- The LATEX Graphics Companion (2nd Edition).
- Paperback: 976 pages
- Publisher: Addison-Wesley Professional; 2 edition (August 12, 2007)
- ISBN: 0321508920
- The PSTricks web site.
- PostScript(R) Language Tutorial and Cookbook (also called the “The Blue Book”)
- Paperback: 256 pages
- Publisher: Addison-Wesley Professional (January 1, 1985)
- ISBN: 0201101793
-
We
start
with
some
examples.


To use PSTricks you must include the following lines in the preamble of your document.
2 \usepackage{calc}
3 \usepackage{pst-3dplot}%
4 \usepackage{pst-grad}
5 \usepackage{pst-plot,pst-math,pstricks-add}%
6 \usepackage{pst-all}
7 %\RequirePackage{pst-xkey}
We should mention that there have been some incompatibilities between the pstcol package (used by PSTricks) and the
graphics packages mentioned above.
Using colors with PSTricks is similar to what has already been discussed. The real power of the PSTricks package is the
ability to create graphics using LaTeX-like syntax.
-
Preliminaries
PSTricks provides users with the capability to draw using the familiar syntax of LATEX.
The previous example might be easier to understand if we include more detail in the sketch. Thus
1 \newpsobject{showgrid}{psgrid}{%
2 gridlabels=0pt%
3 ,griddots=0%
4 ,gridwidth=0.5pt%
5 ,gridcolor=gray%
6 ,subgriddiv=0%
7 ,subgridwidth=0.25pt%
8 ,subgridcolor=red}
- Basic Graphics Objects
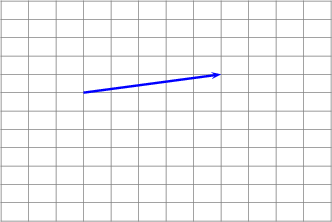
Here’s a curve. Notice that the points used can be turned on (as shown) or off.
1 %\begin{pspicture}(\xmin,\ymin)(\xmax,\ymax)
2 \showgrid
3 \pscurve[linecolor=red,linewidth=1.5pt,showpoints=true]%
4 (\xmin,1)(0,2)(3,1)(\xmax,\ymax)
5 %\end{pspicture}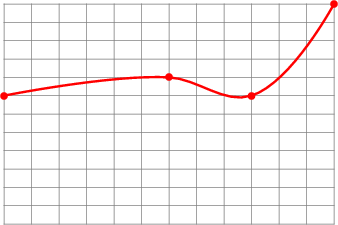
where the values \xmin, \ymin, etc. have been defined previously as
We begin by setting the default unit(s) in PSTricks using the command \psset{unit=1cm} . This is actually the default value.
1 %\begin{pspicture}(\xmin,\ymin)(\xmax,\ymax)
2 \showgrid
3 \pscurve[linecolor=red,linewidth=1.5pt,showpoints=true]
4 (\xmin,1)(0,2)(3,1)(\xmax,\ymax)
5 \psbezier[style=myCurveStyle,linecolor=green]{-}%
6 (-4,1)(-2,3)(1,-4)(5,5)
7 %\end{pspicture}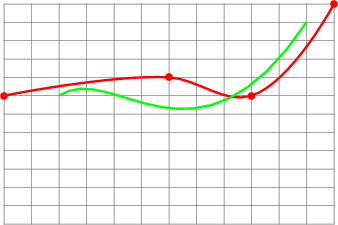
There are built-in shapes
1 %\begin{pspicture}(\xmin,\ymin)(\xmax,\ymax)
2 \showgrid
3 \psellipse[linecolor=blue,linewidth=1.5pt]
4 (1,0)(1,1.5)
5 \psdots[linecolor=red,linewidth=1.25pt](0,0)
6 \SpecialCoor
7 \uput{6pt}[180](0,0){$(0,0)$}
8 \NormalCoor
9 %\end{pspicture}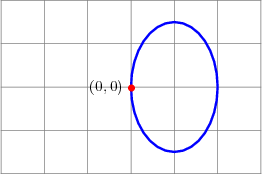
Here is a circle centered at (-2,-1) of radius 2.
1 %\begin{pspicture}(\xmin,\ymin)(\xmax,\ymax)
2 \showgrid
3 \pscircle[linecolor=red,linewidth=1.5pt]
4 (-2,-1){2}
5 %\end{pspicture}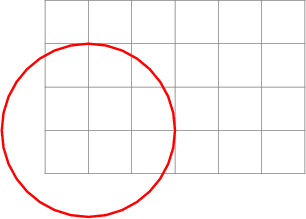
Here is the same object filled-in and clipped.
1 %\begin{pspicture}(\xmin,\ymin)(\xmax,\ymax)
2 \showgrid
3 \psclip{\myframe(\xmin,\ymin)(\xmax,\ymax)}
4 \pscircle*[linecolor=red,linewidth=1.5pt]
5 (-2,-1){2}
6 \endpsclip
7 \pswedge*[linecolor=white](-2,-1){1}{15}{105}
8 %\end{pspicture}
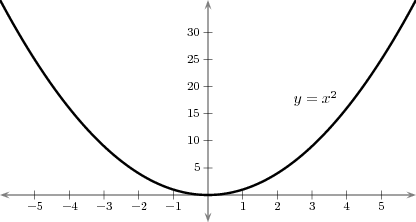
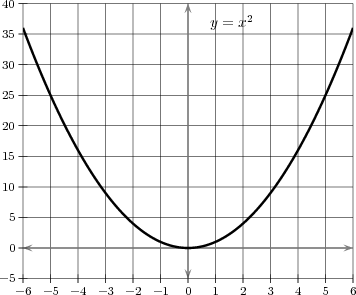
Finally, we plot some functions. To do this we’ll use some custom macros that give the user better control over the coordinate system.
1 \begin{pspicture}(\xmin,\ymin)(\xmax,\ymax)
2 \showgrid
3 \pstVerb{%
4 /f@ {dup mul} def % x^2
5 }
6 %%%%%%%%%%%%%%%%%%%%
7 %% Axes and Ticks %%
8 %%%%%%%%%%%%%%%%%%%%
9 \myaxes{<->}(0,0)(\xmin,\ymin)(\xmax,\ymax)
10 \xTickMarks{\xmin}{\xmax}{1}
11 \yTickMarks{\ymin}{\ymax}{5}
12 %%%%%%%%%%%%%%%%%%%%%%%
13 %% Graphical Objects %%
14 %%%%%%%%%%%%%%%%%%%%%%%
15 \psclip{\myframe(\xmin,\ymin)(\xmax,\ymax)}
16 \psplot[style=myPlotStyle]
17 {\xmin}{\xmax}{x f@}
18 \endpsclip
19 %%%%%%%%%%%%
20 %% Labels %%
21 %%%%%%%%%%%%
22 \SpecialCoor
23 \uput{6pt}[0](!3 dup f@){$y=x^2$}
24 \NormalCoor
25 \end{pspicture}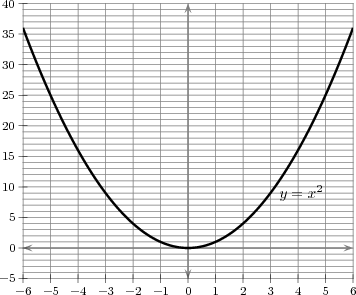
And again, using better grid controls.
Here’s something useful for integration theory
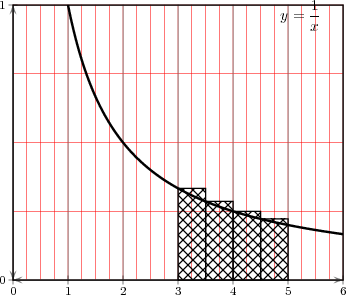
Here is the code
1 \def\xmin{0}\def\xmax{6}
2 \def\ymin{0}\def\ymax{1}
3 \def\dommin{\xmin}\def\dommax{\xmax}
4 \VR{3in}{2.5in}
5
6 \newpsobject{newgrid}{psgrid}{%
7 gridlabels=0pt%
8 ,griddots=0%
9 ,gridwidth=0.5pt%
10 ,gridcolor=gray%
11 ,subgriddiv=4%
12 ,subgridwidth=0.25pt%
13 ,subgridcolor=red}
14 \begin{pspicture}(\xmin,\ymin)(\xmax,\ymax)
15 \newgrid
16 %%%%%%%%%%%%%%%%%%%%
17 %% Axes and Ticks %%
18 %%%%%%%%%%%%%%%%%%%%
19 \SpecialCoor
20 %% Labels go here
21 \rput[lr](!\xmax\space\xmax\space\xmin\space sub 15 div sub
22 \ymax\space\ymax\space\ymin\space sub 25 div sub){$y=\Dfrac{1}{x}$}
23 \NormalCoor
24
25 \myaxes{<->}(0,0)(\xmin,\ymin)(\xmax,\ymax)
26
27 %% Change these as needed. #1 - start, #2 - end, #3 - increment
28
29 \xTickMarks{\xmin}{\xmax}{1}
30 \yTickMarks{\ymin}{\ymax}{1}
31
32 \psclip{\psframe(\xmin,\ymin)(\xmax,\ymax)}
33 %% Graphing directives go here, e.g.,
34 \psplot[style=myPlotStyle]
35 {0.1}{\xmax}{1 x div}
36 \endpsclip
37
38 \SpecialCoor
39
40 \psline[fillstyle=crosshatch]{-}(3,0)(3.5,0)(!3.5 1 3
41 div)(!3 1 3 div)(3,0)
42 \psline[fillstyle=crosshatch]{-}(3.5,0)(4,0)(!4 1 3.5
43 div)(!3.5 1 3.5 div)(3.5,0)
44 \psline[fillstyle=crosshatch]{-}(4,0)(4.5,0)(!4.5 1 4
45 div)(!4 1 4 div)(4,0)
46 \psline[fillstyle=crosshatch]{-}(4.5,0)(5,0)(!5 1 4.5
47 div)(!4.5 1 4.5 div)(4.5,0)
48
49 \NormalCoor
50
51
52 \end{pspicture} - Plotting Data from a File
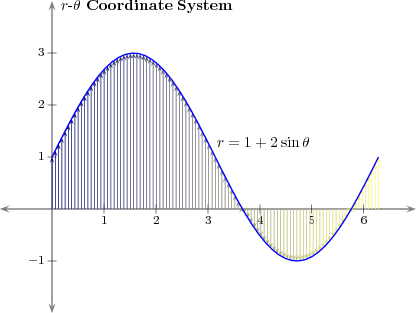
Suppose that you wish to plot the following data.
0, 0 0.0628, 0.06279 0.1256, 0.12533 ... ... The following code does the trick.
1 %\begin{pspicture}(\xmin,\ymin)(\xmax,\ymax)
2 \showgrid
3 %% Axes and Ticks %%
4 \myaxes{<->}(0,0)(\xmin,\ymin)(\xmax,\ymax)
5 %% Graphical Objects %%
6 \psclip{\myframe(\xmin,\ymin)(\xmax,\ymax)}
7 \fileplot{plotData.txt}
8 \endpsclip
9 \SpecialCoor
10 \rput[lt](!\xmax\space\xmin\space sub 15 div
11 \ymax\space\ymax\space\ymin\space sub 25 div sub){$y=\sin x$}
12 \NormalCoor
13 %\end{pspicture}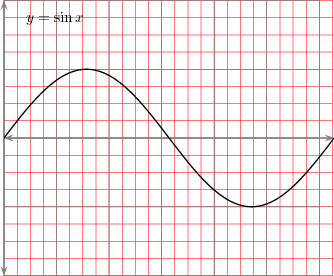
-
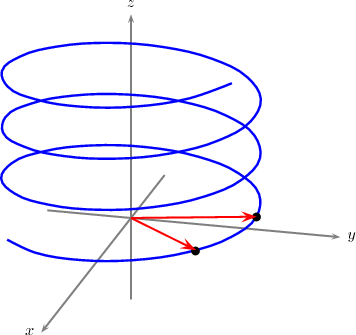
A
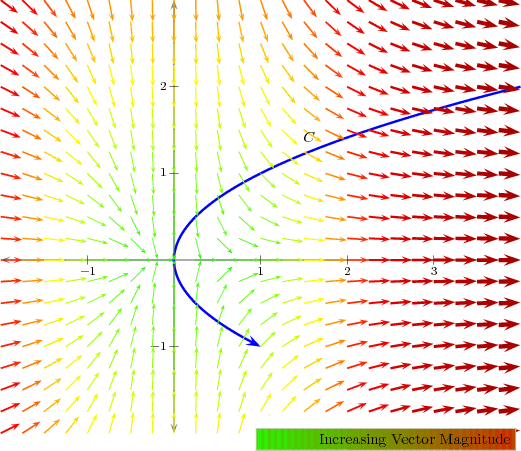
vector
field.

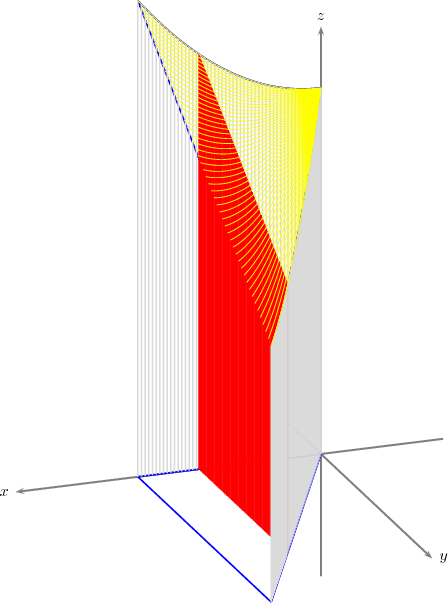
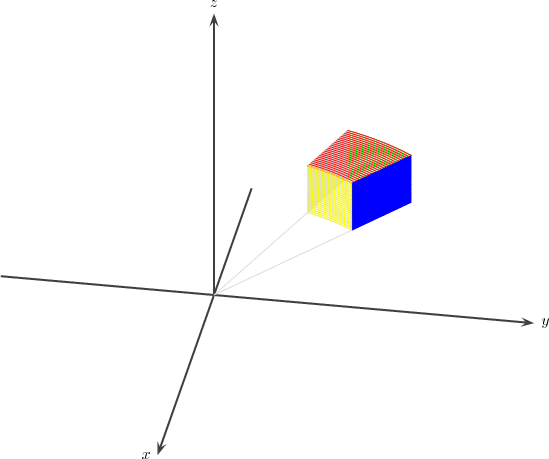
- A three dimensional wedge.
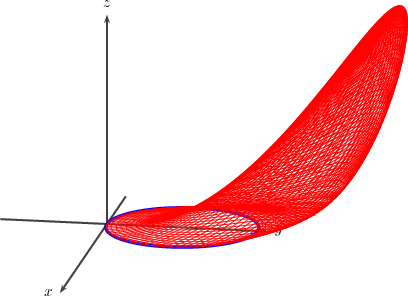
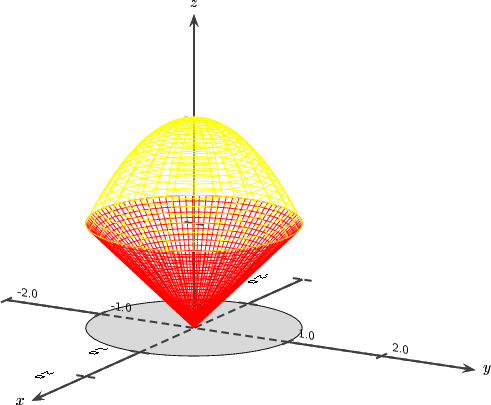
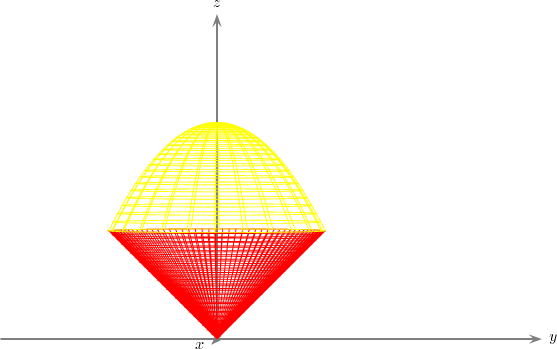
- An ice-cream cone.
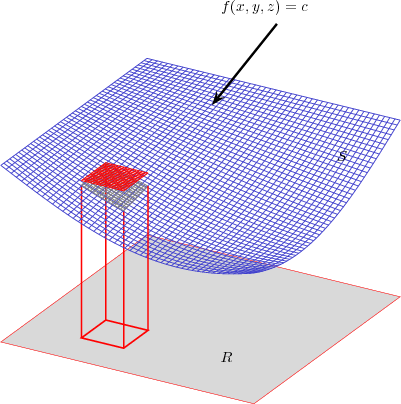
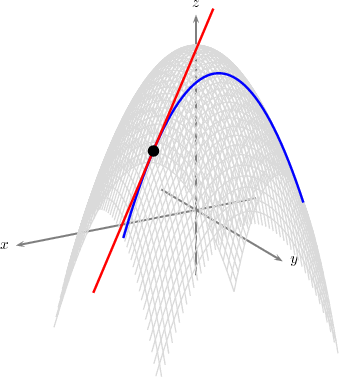
- A level surface.